Lights · 5 min read
Lights and reflective kit for running and riding in the dark
Front and rear lights, beam and be-seen modes, mounting, charging and reflective kit for running and riding after dark, with your local light rules in mind.
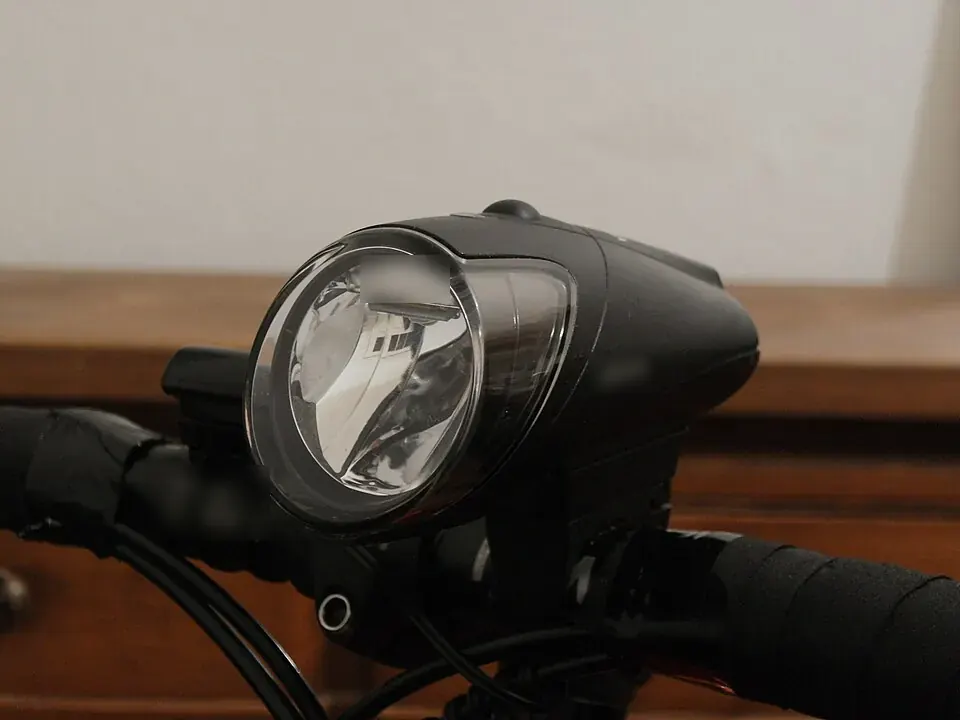
When the days get shorter, a lot of runs and rides start or end in the dark. Lights and reflective kit are part of getting ready for that, along with your route, your clothing and the conditions on the day. This guide explains how to read a light's listing, where to put it and how reflective kit fits in. It does not replace the rules where you live or the maker's own guidance, so read both.
Check the rules where you ride
Countries set their own rules for bike lights and reflectors: which colour goes where, whether a light may flash, and in some places which lights are approved for use on the road. The United Kingdom, Germany and France each have their own rules, and they change from time to time. Check the current rules for your country before you rely on a light on the road, and read what the maker's listing says about where the light may be used.
Front and rear
On a bike, the usual pairing is a white light at the front and a red light at the back. The front light is there to show the way ahead; the rear light is there to be seen from behind.
Runners often use a head torch or a chest light at the front, and a small red clip-on light at the back, on a waistband, an armband or a vest. If you run on unlit roads or paths, think about how you will see the ground in front of your feet as well as how you show up from behind.
Lumens, as listed by the maker
Lumens measure the total amount of light a lamp gives out. Makers list a figure for each mode, and it is a useful way to compare lights within one maker's range. Between makers, compare with care: figures are measured in different ways, and lumens say nothing about where the light goes. A focused beam and a wide spread of the same output light the road very differently.
Our product pages give the figures the maker lists. We do not test or re-rate them.
Beam lights and be-seen lights
Lights fall roughly into two groups.
- Beam lights throw light onto the road or path ahead, so you can see where you are going. On unlit roads and paths, this is the light you need at the front.
- Be-seen lights are smaller and are designed to be noticed rather than to light the way. They suit lit streets, the back of the bike, or a place alongside a beam light as a second light.
Many lights do both, with a steady mode for seeing and a flashing or pulsing mode. Whether and how flashing may be used differs between countries, so check the rules.
Angle a front beam slightly down, so it lights the road without dazzling people coming the other way. Most makers explain how to set the angle for their light.
Mounting
Where a light sits changes what it does.
- Handlebars. The usual place for a front beam, which lights wherever the bike points. Check that the mount fits your bar; makers list the sizes each mount takes.
- Seat post. The usual place for a rear light. Make sure a saddle bag or mudguard does not hide it.
- Helmet. A helmet light points where you look, which helps on bends and when reading signs. Use it alongside a bar light rather than instead of one, and fit it only in the way the helmet and light makers allow. Our helmet sizing guide covers fit.
- Arm, ankle or waist. For runners, clip-on lights and armbands are light and move with you. Some riders add one at the ankle as well.
Rubber strap mounts are quick to move between bikes; bolted brackets hold more firmly on rough surfaces. Whichever you use, check the mount again after the first few outings. Browse lights to compare the options.
Charging and run time
Most lights now charge by USB. A few habits help:
- charge after every run or ride, rather than just before the next one
- learn the run time of the mode you use from the maker's listing, and plan with a margin
- know what the battery indicator shows, so a low warning is not a surprise
- batteries often run down faster in the cold, so on long winter outings carry a spare light, or a power bank and cable
- follow the maker's guidance on charging, storage and water resistance
Reflective kit
Reflective material does not give out light of its own. It sends light back towards where it came from, such as a car's headlights, so it only works when light falls on it. It goes with lights rather than replacing them.
Where you wear it matters. Reflective detail on the parts of you that move, such as ankles and wrists, moves with every stride or pedal stroke, and many runners and riders wear bands there for that reason. On a bike, reflectors on the pedals and wheels move in the same way; check what your country's rules ask for.
Clean reflective material now and then, following the care label. Road dirt dulls it, and so do some washing products. Browse reflective kit for pieces to wear.
Vests are sized by chest
A reflective vest goes over everything else, so it needs room for what you wear underneath. Vests are sized by chest circumference: measure round the fullest part of your chest, under your arms, with the tape level and snug.
Enter your chest measurement in the fit finder and each vest shows the size to order from its maker's table. If you are between two sizes, room to layer suits a vest you will wear over a winter jacket, and close fit suits one you will wear over a thin running top. Bands for ankles and wrists are often one size with an adjustable fastening; the product page says when a product is one size.
A short routine before you go out
- Charge your lights and check that each one works.
- Check that the mounts are tight and the front light is angled down.
- Wipe the lenses and any reflective material.
- Put your reflective bands on ankles and wrists.
- On longer outings, take a spare light or a charging cable.
To see everything that has your size, open the shop and turn on the Fits me filter. If something is not right when it arrives, Shipping and returns explains how returns work.
Measured? Save it once and every product shows your size.
Find my sizes